Appearance
Magento 2
How to add a product?
TIP
In order to set your product as colorizable please prepare it according to our product preparation guide.
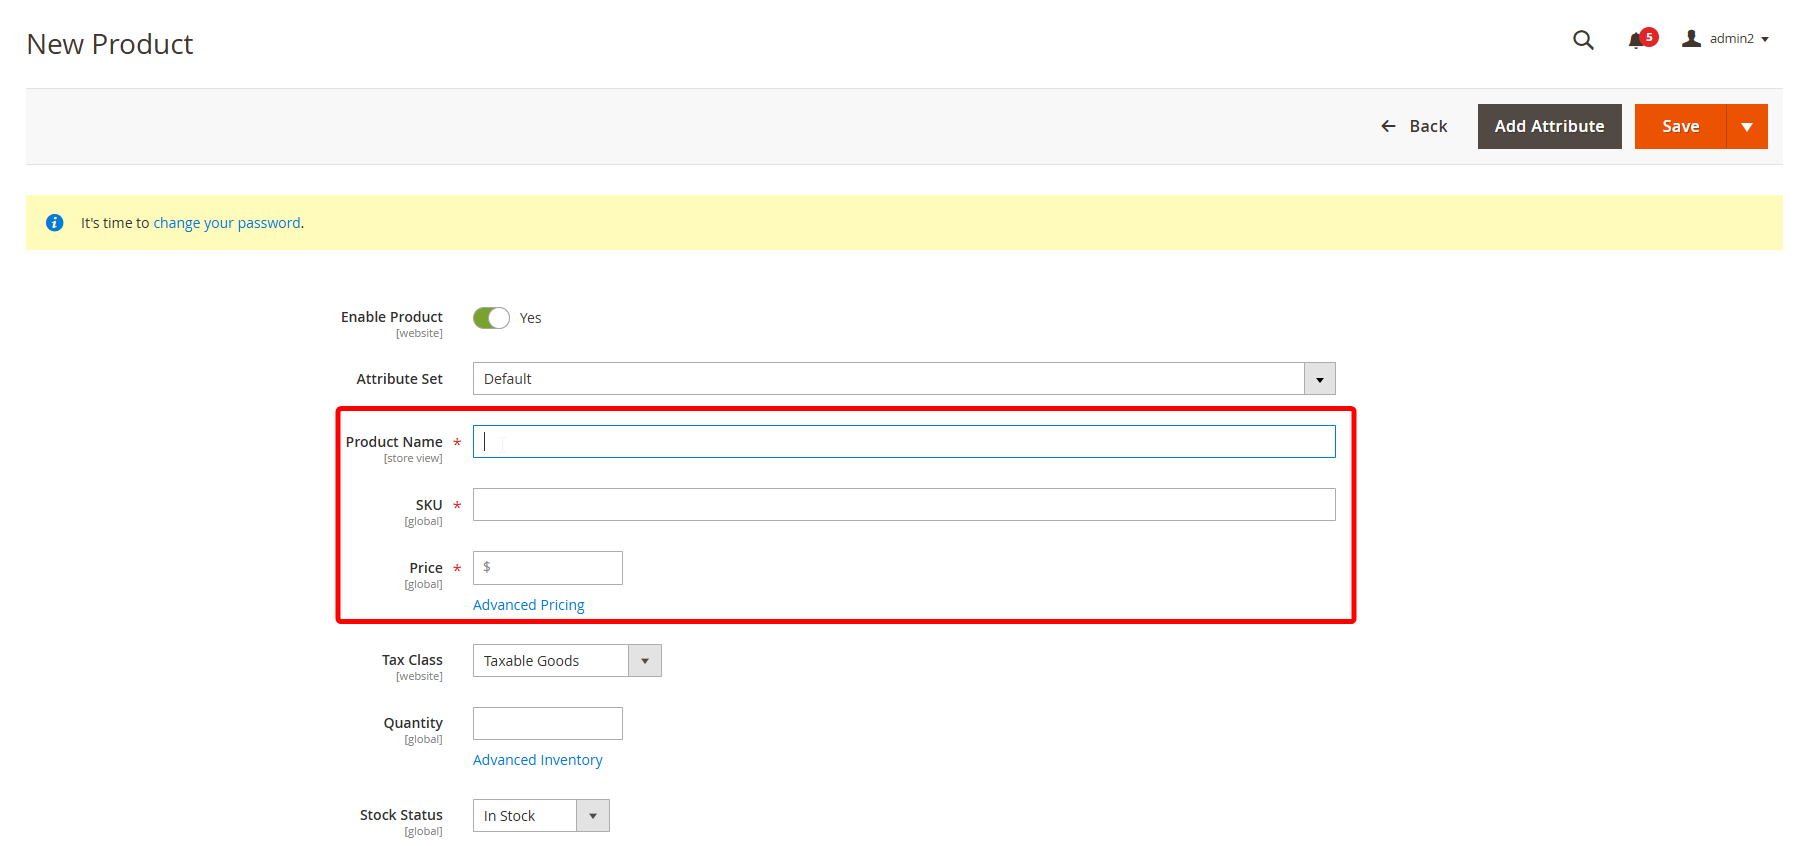
- To start adding a new product choose "Add Product" in the "Products" tab.

Fill the required fields (Product Name, SKU, Prices)
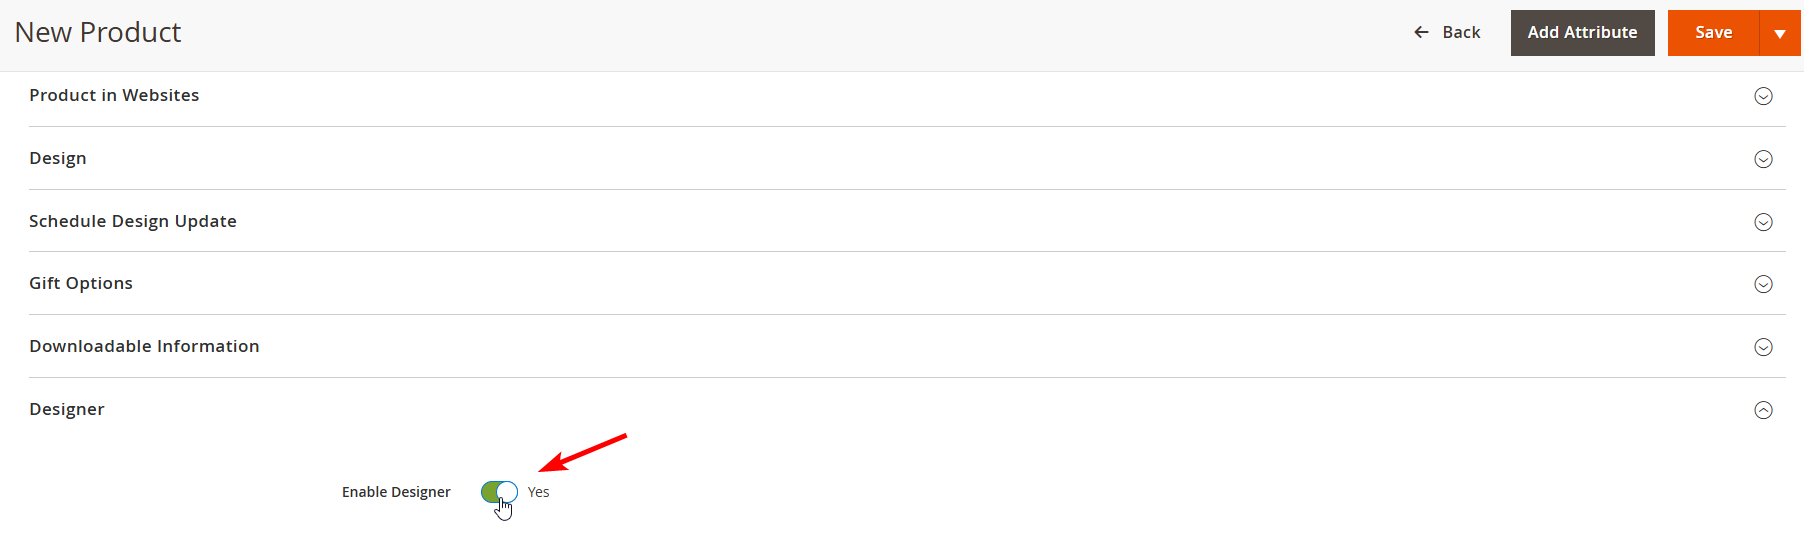
- Click on the "Designer" tab to open settings panel. To use the product in the liveart designer set "Enable Designer" selector.
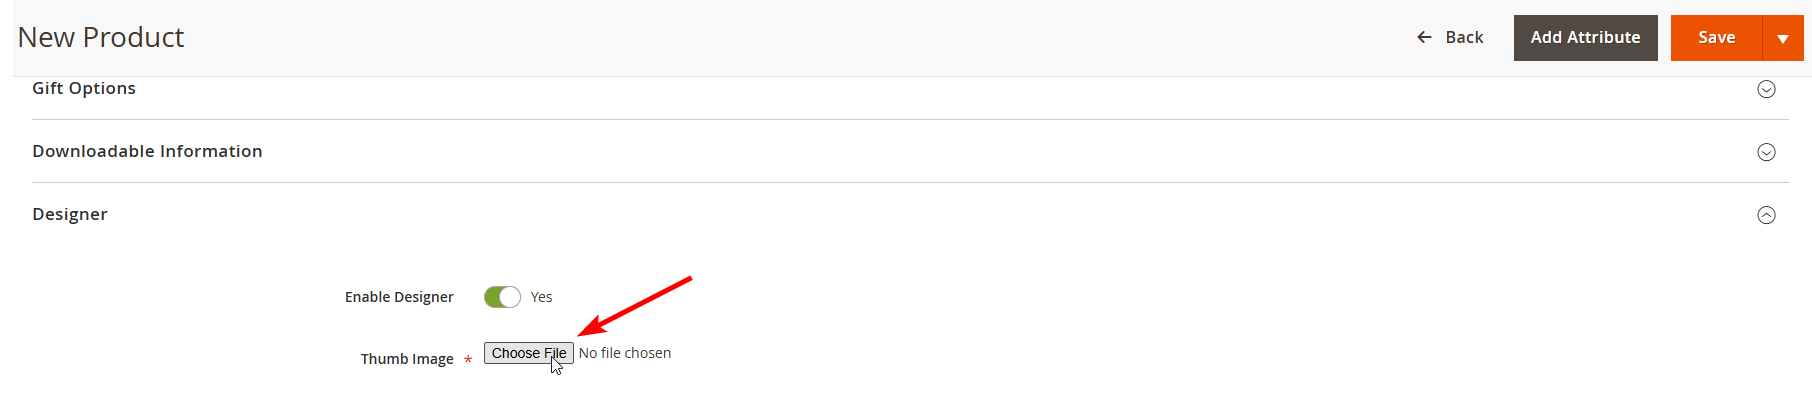
- Upload product thumbnail:
- Click "Choose File" button and select file from your computer.
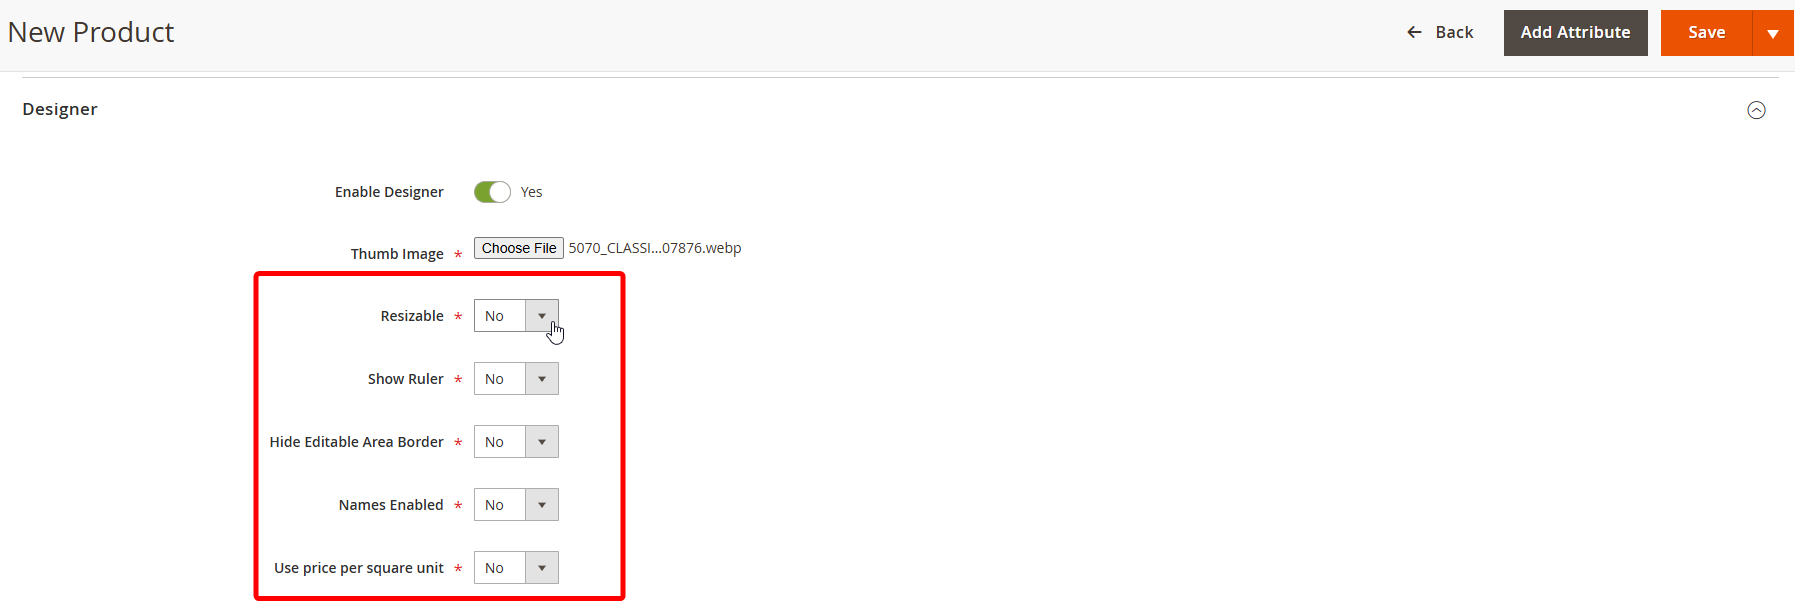
- Set selectors.
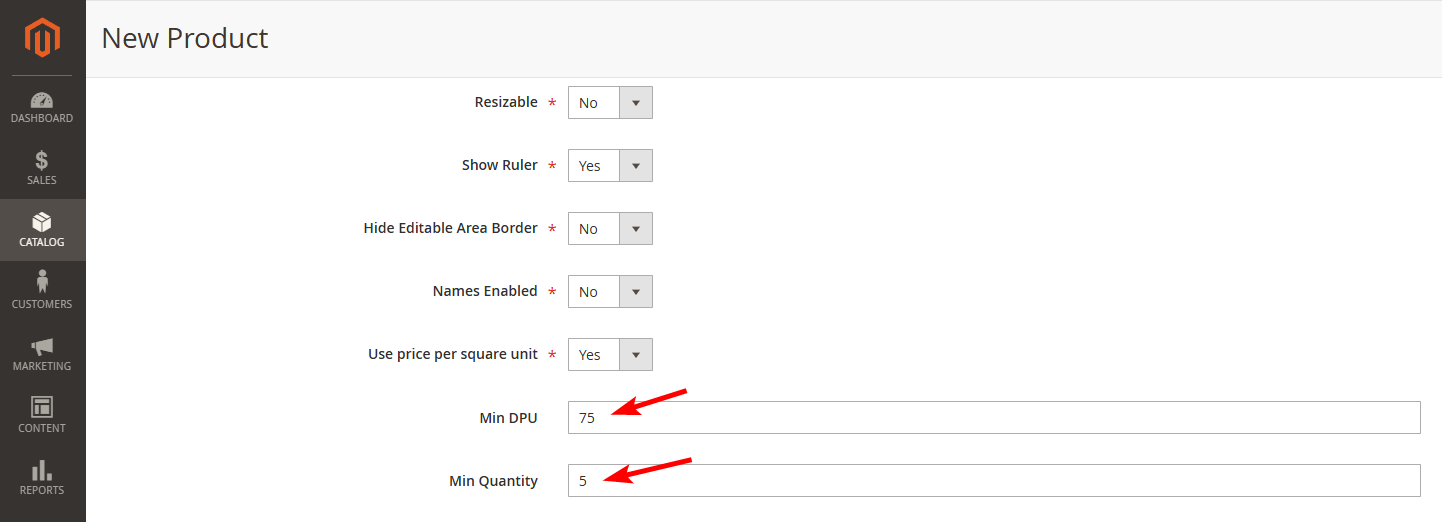
- Set the "resizable" selector, if the user can change the product dimensions. Applicable to sign-based products.
- To show a ruler for the product set "show ruler" selector.
- To hide the editable area border set "Hide Editable Area Border" selector, if not, the printable area border is not rendered.
- To enable the ability to add Names and Numbers for products like uniform, set "Enable name and numbers" selector.
Add restrictions for images:
Enter "Min DPU" value - the warning message will be shown if the customer will size raster image more than safe dimensions to meet suggested print quality standards.
Min Quantity - enter the minimum quantity of the ordered product. If the customer will try to order less product quantity than you entered, the order will not be placed.
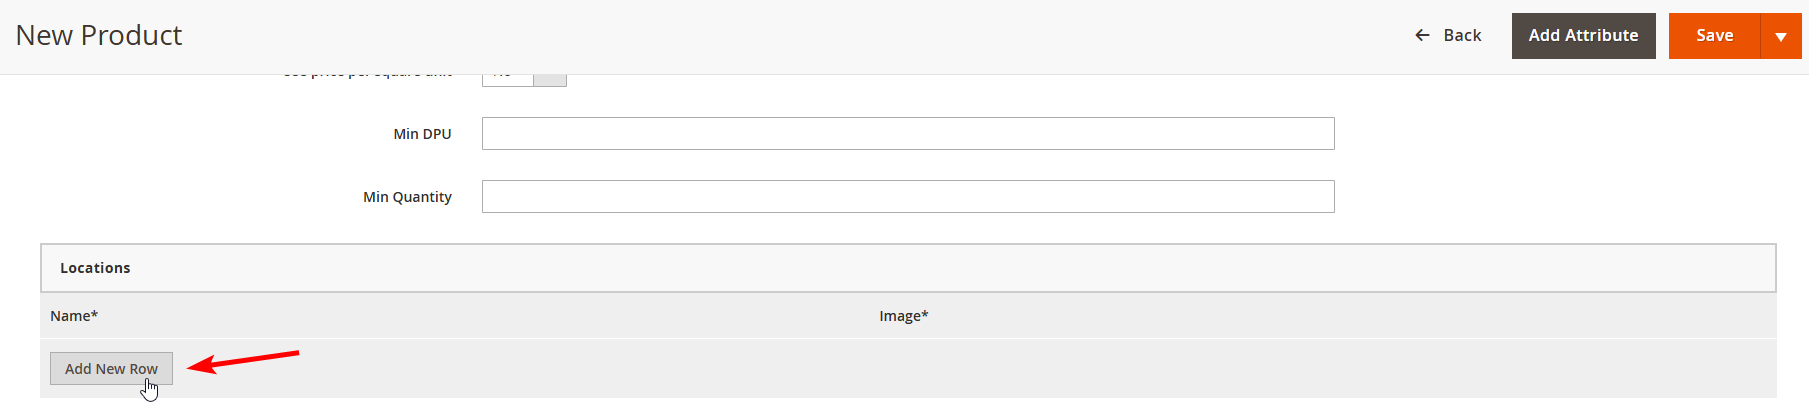
- Add Locations. Location, i.e. an area of a product, which will be presented to user as customizable. Example in case of t-shirt is Front or Back or Sleeve. You can define up to 6 areas if necessary.
- Click the "Add New Row" button to add product printing areas.
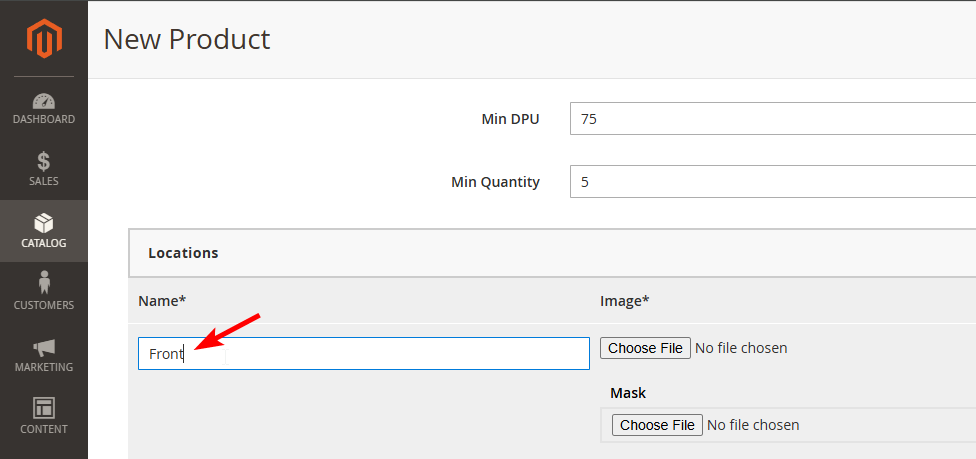
- Upload an image (background image) and mask (the mask image, that will be applied to the product background image).
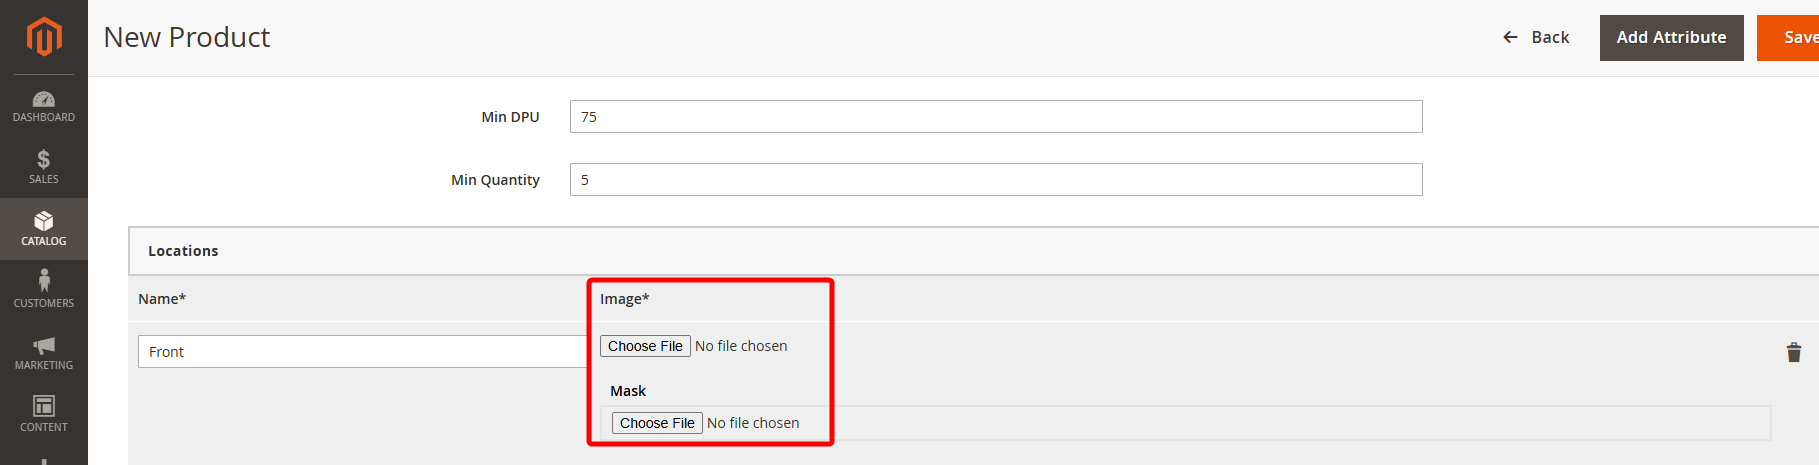
- Enter the name of the new print location as it would appear in designer
- Enter Editable area (coordinates of top left X and top left Y points and its width and height.)
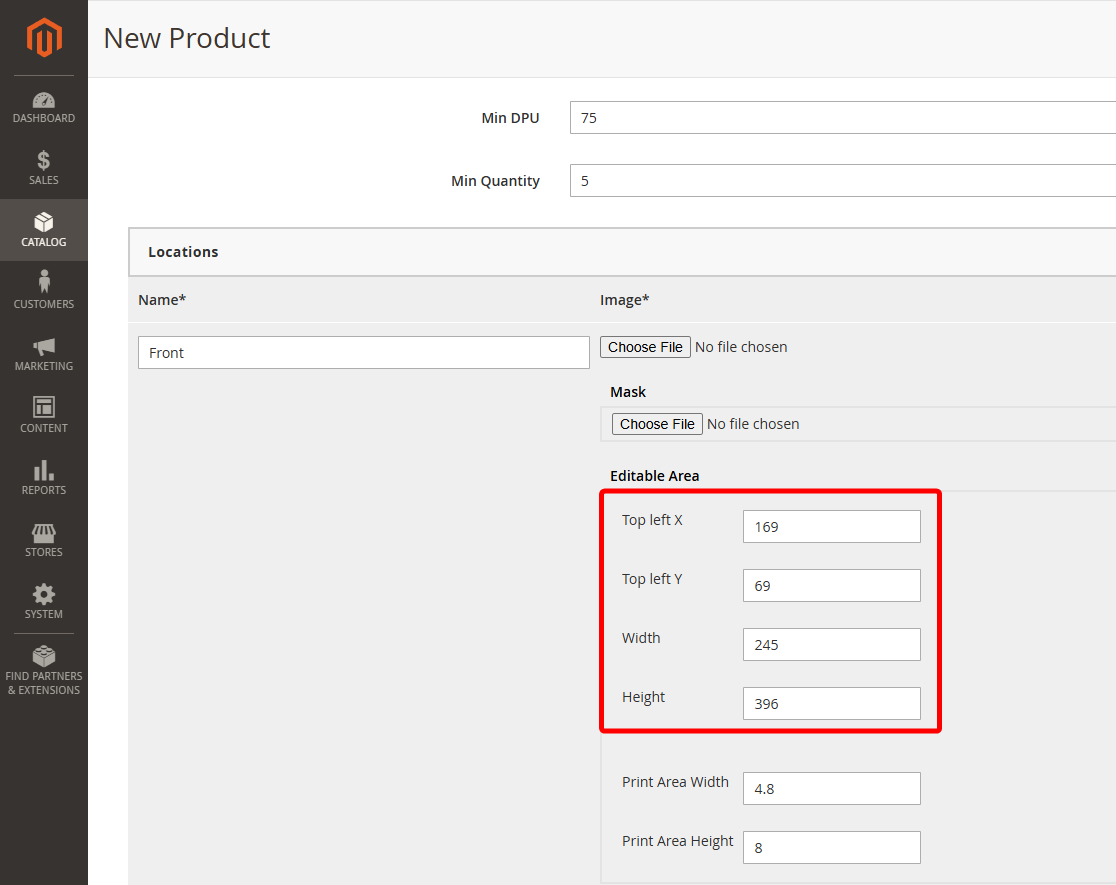
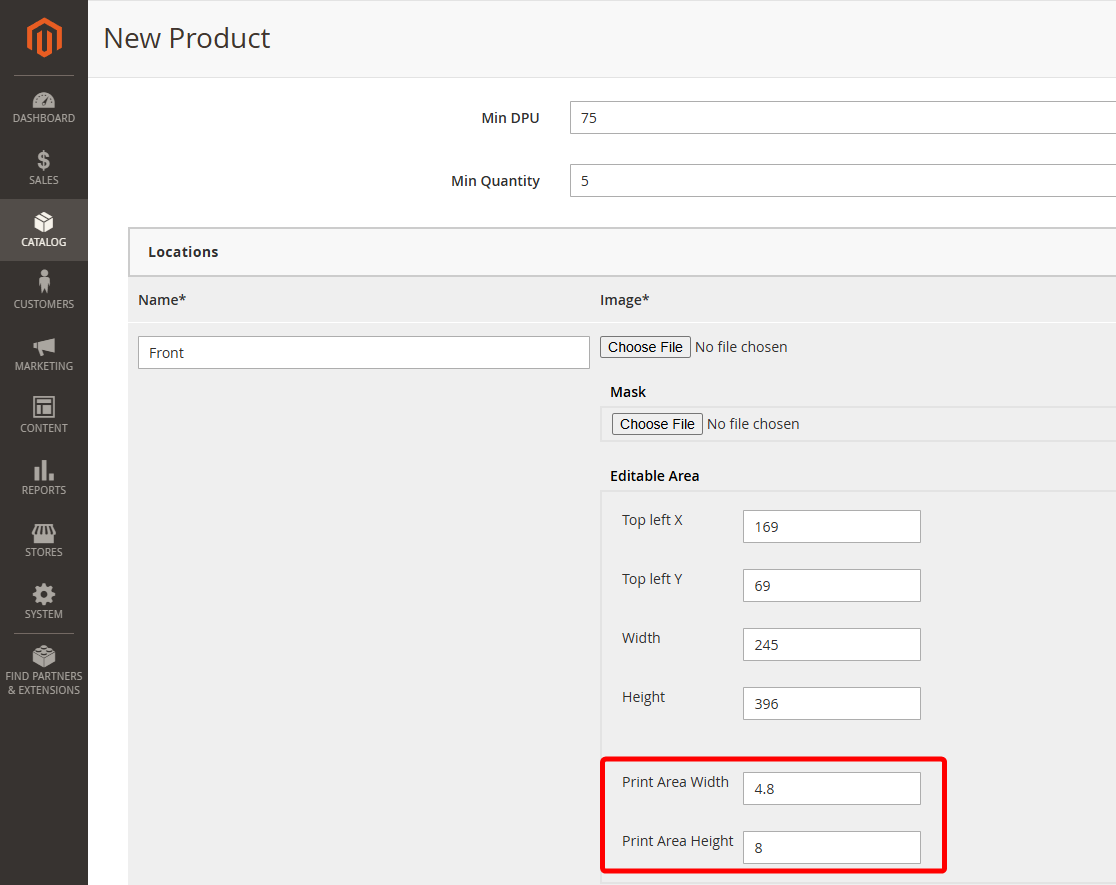
- Enter Editable area width and Editable area Height (number of width and height of editable area in real-life units). For example, if you are using inch units and your printable area is A4-size, enter 8.27 and 11.69 respectively.
- Product Colors
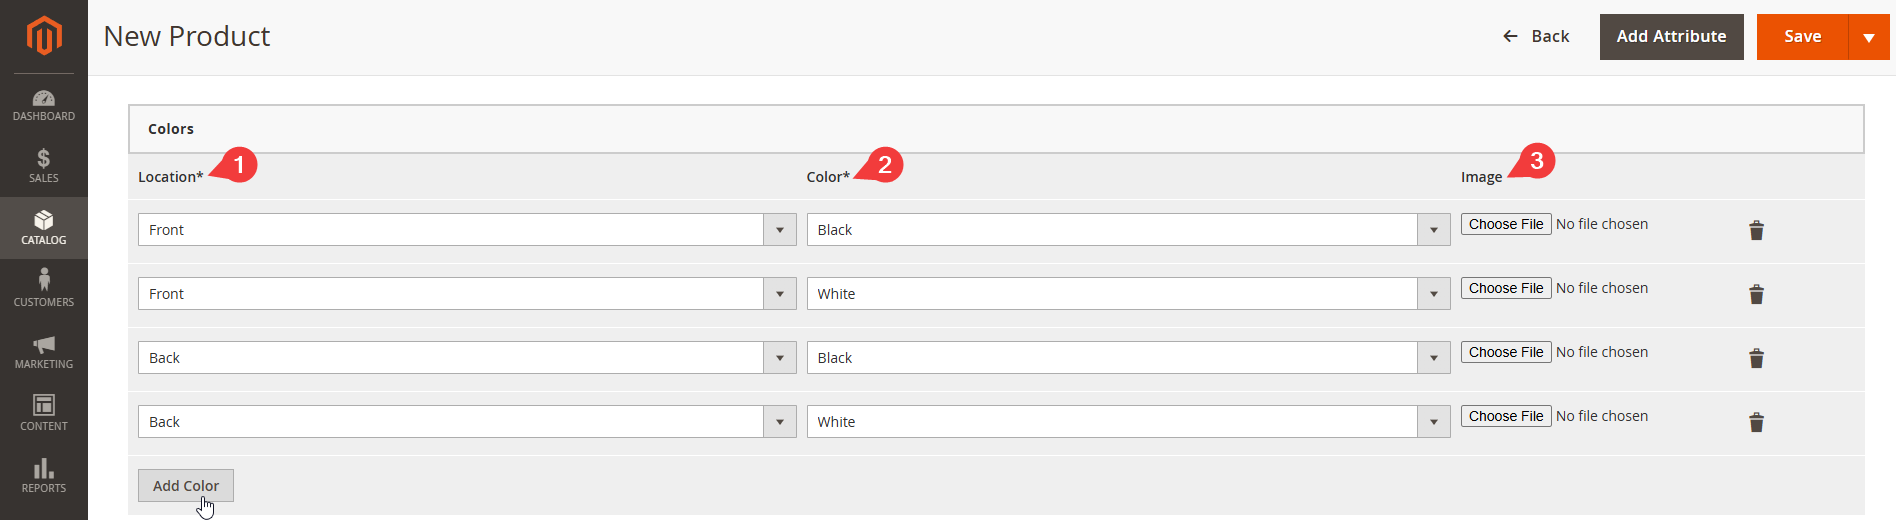
Upload images of product with different color and enter name and value of the color. This is done only for raster images. This way there is an image attached to each color.
- Navigate to the "Colors" tab and click "Add Color" button.
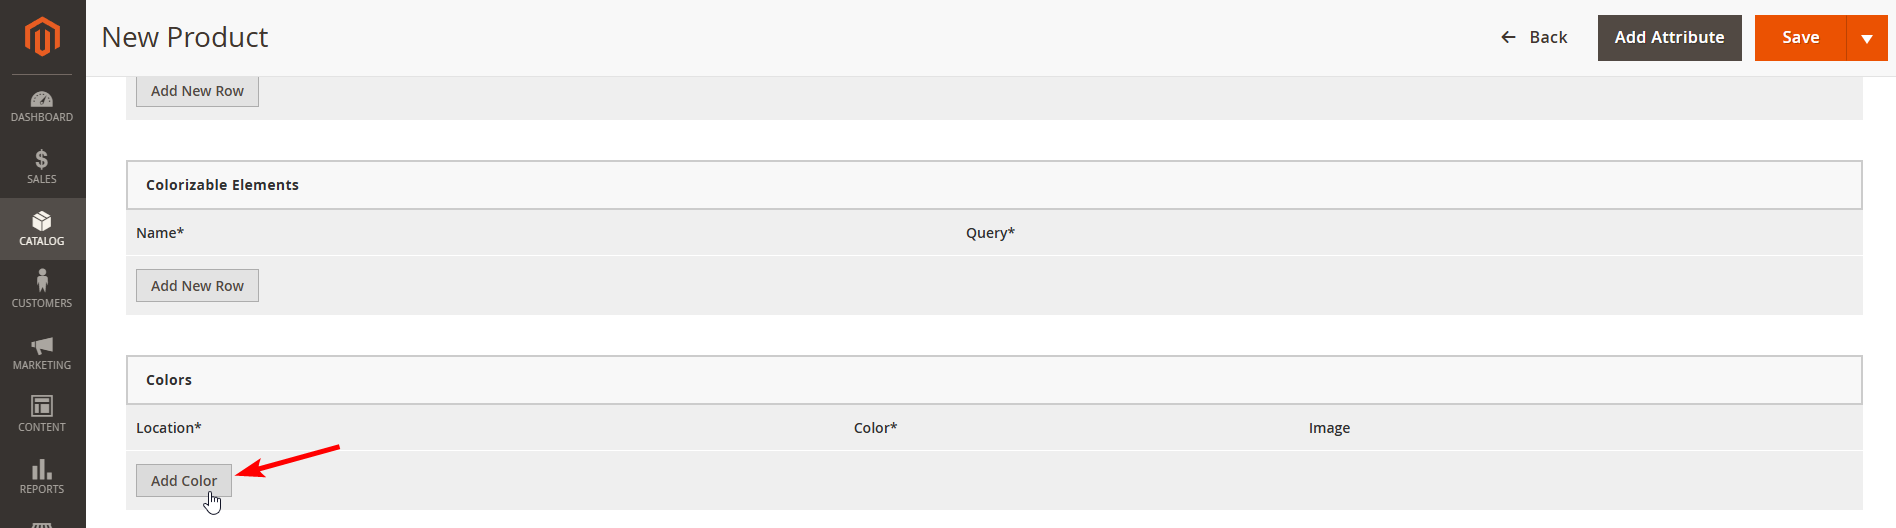
- Add new Color
- Select the desired Location
- Select the desired color
- Upload the corresponding image
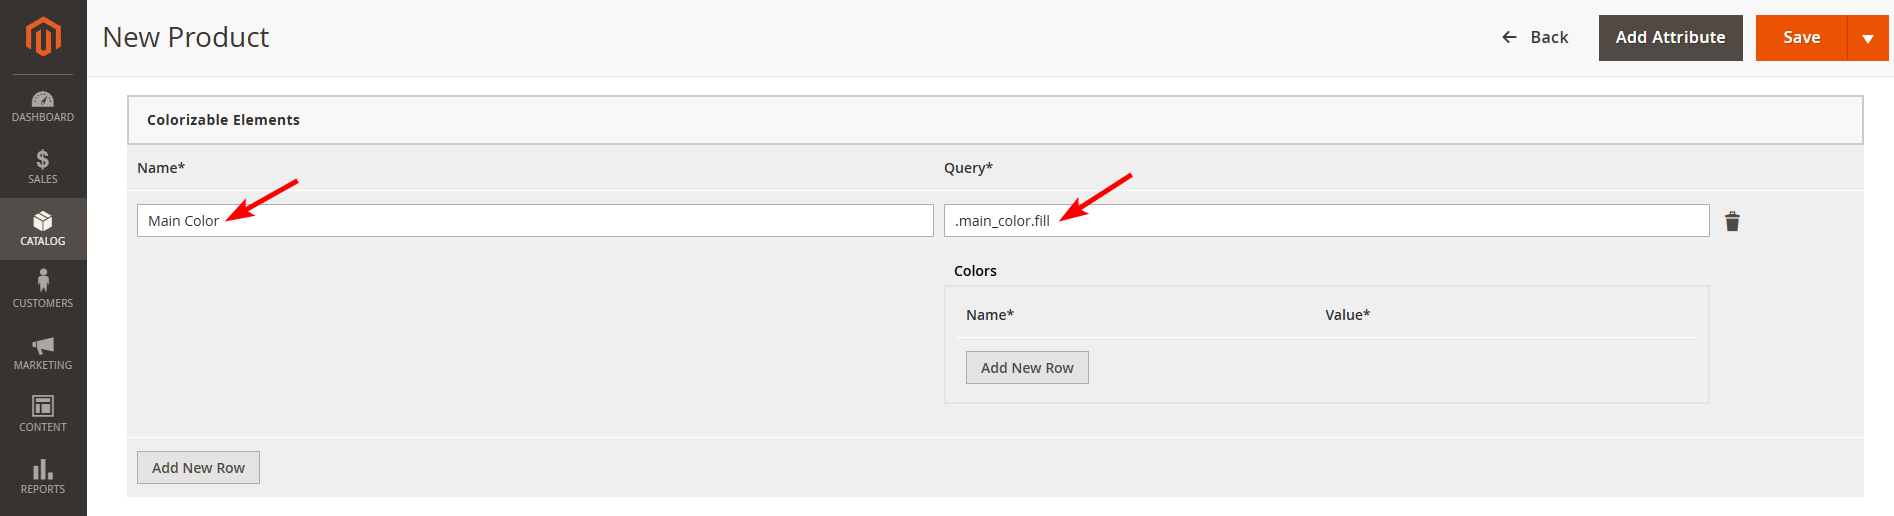
Colorizable Elements
TIP
Elements of the product that can be colorized, e.g. uniform or multiple panel products, please note that colorizable elements are applicable to SVG product images only. Editing colorizable elements is needed if you wish to configure the elements manually instead of the default automatic colorization
Enter name and id of element. Name would represent a name of colorizable element as it would appear in designer, e.g. "Left Sleeve"
Id should represent a style of an element in SVG template.
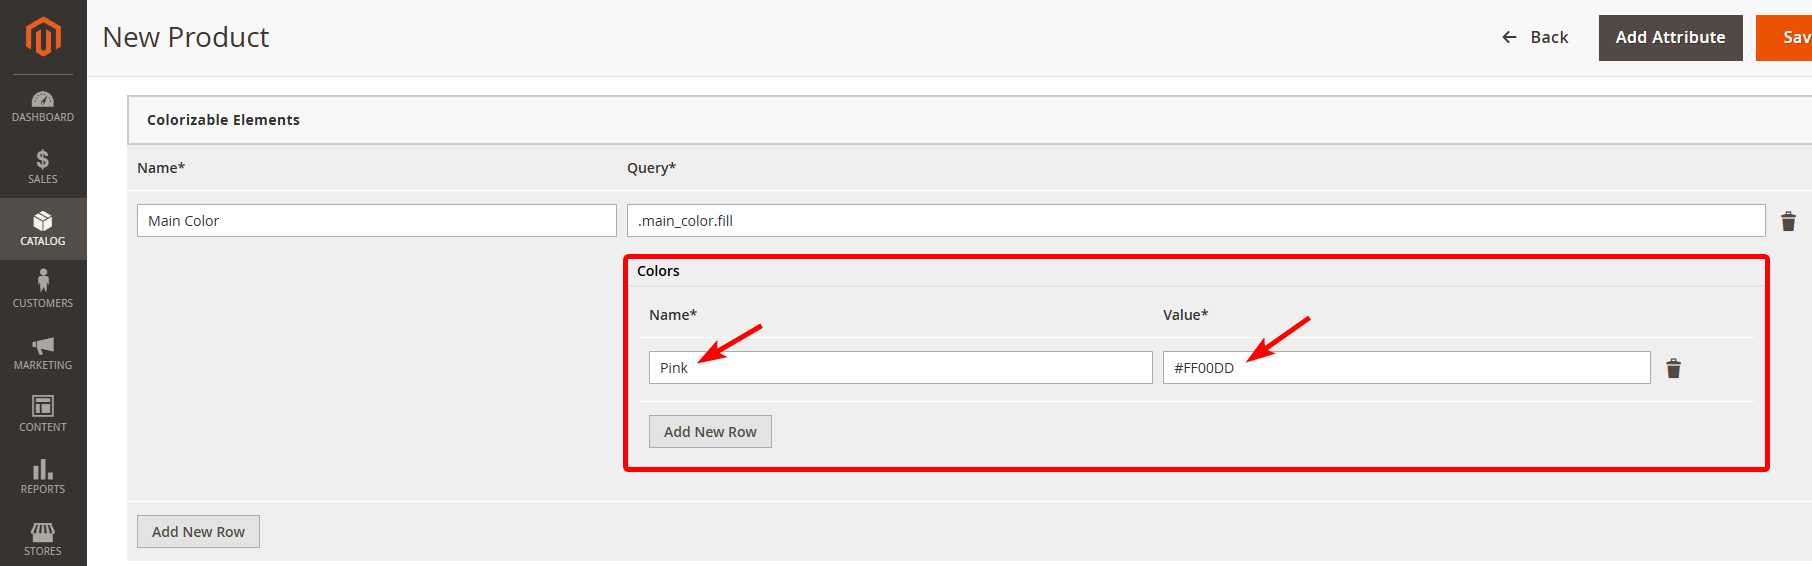
Add colors for colorize element. You can add multiple colors, which a colorizable element will be limited to. If you'd like to use complete list of imprint colors, leave this list empty.
- Enter Name and value. The Value should represent HEX value of a color, e.g. #FF00DD;
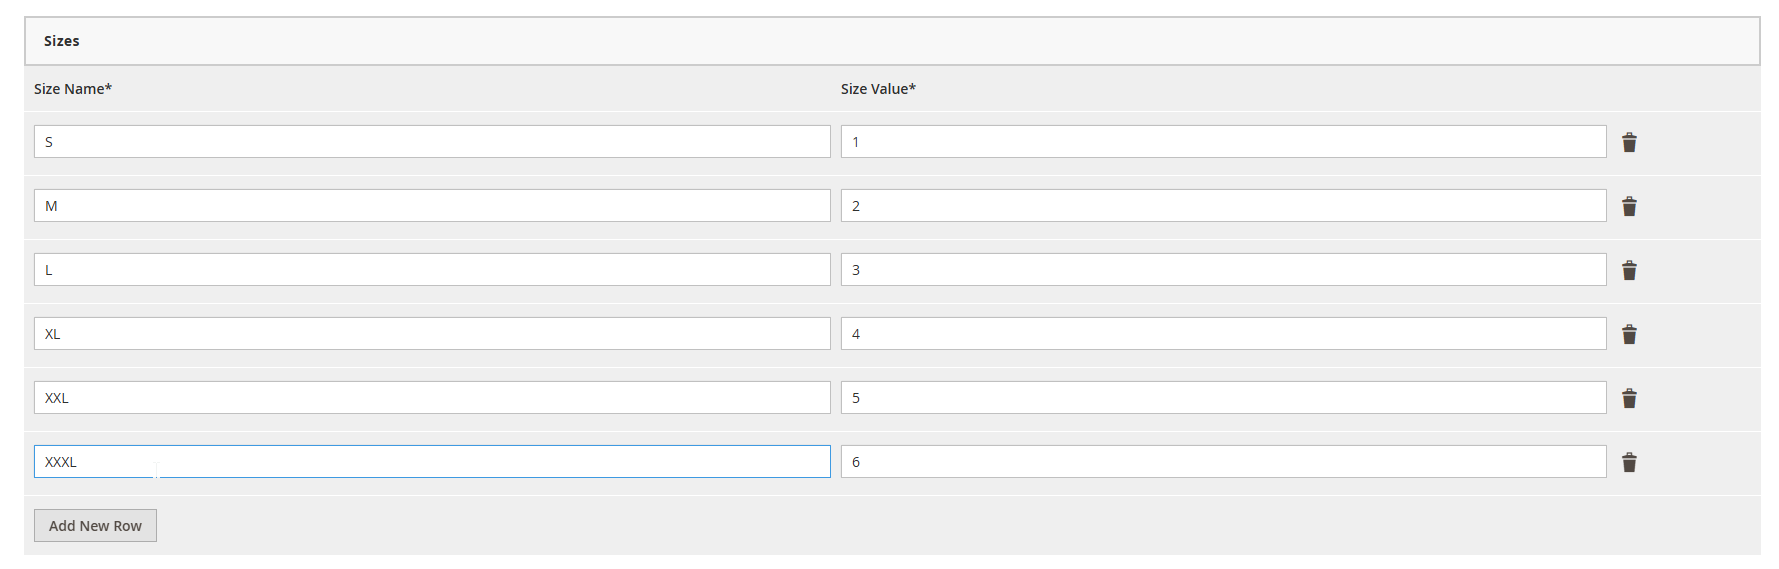
- Product Sizes
- Navigate to the "Sizes" tab and click "Add New Row".

- Enter Size Name (e.g. XL)
Editable Area Sizes
(defines preselected possible sizes for user, works only for resizable products)
- Click on "Add New Row".
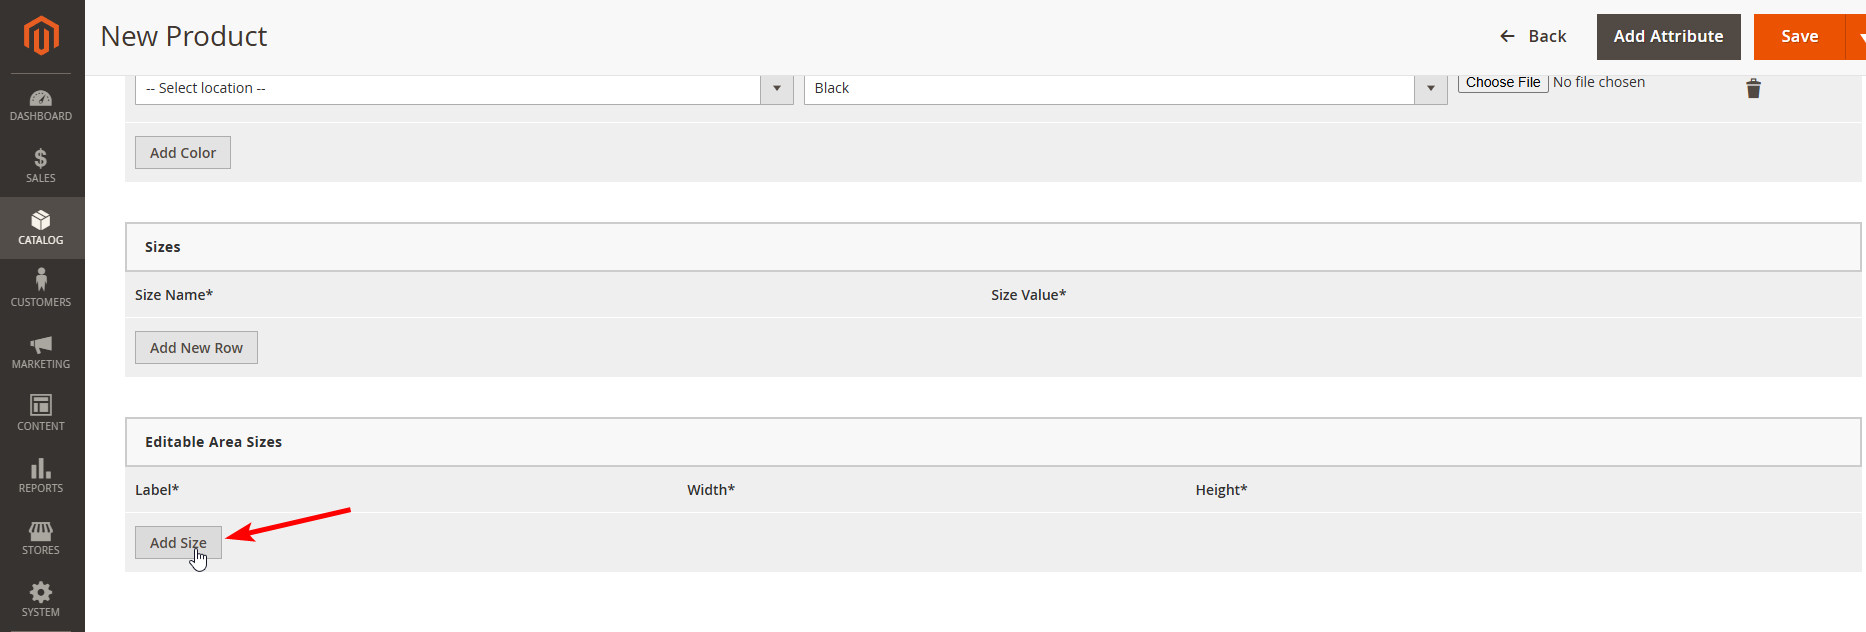
- Enter label, width, and height.

How to add fonts?
Vector Fonts Preparations
Follow these steps to prepare the vector font:
Proceed to demo.liveartdesigner.com/cufon/
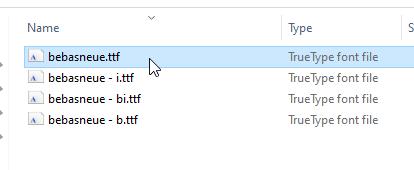
Click "Choose file".
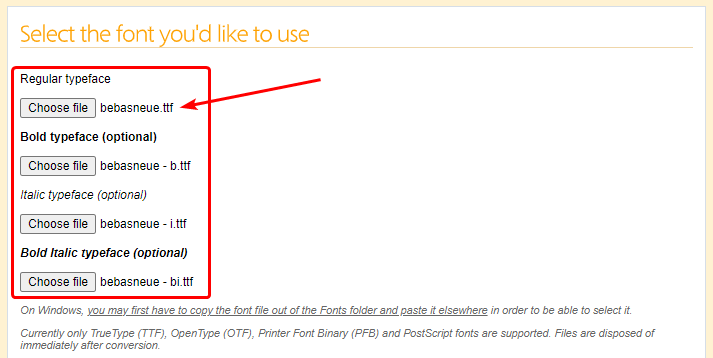
Select TTF or OTF files of all typefaces you need.
Enter the font-family value for the generated font.
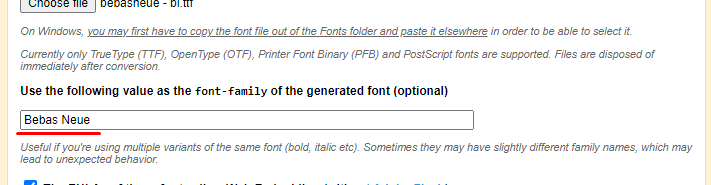
This value is required for correct work and should be the same as in your Admin Area respective Font Family field. See example:

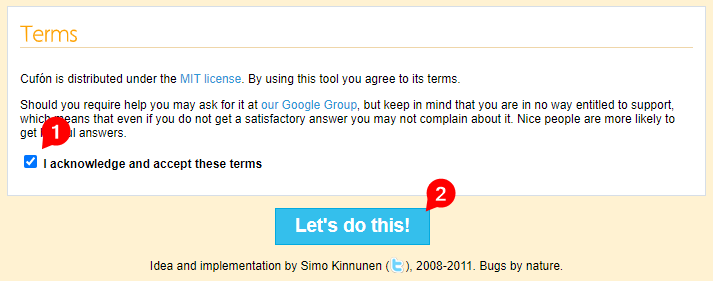
Enable "The EULAs of these fonts allow Web Embedding".

Accept terms, generate cufon font file, and download created JS file.
Once converted, the JS file is ready to be uploaded into the respective Vector File field inside the LiveArt Control Panel.
WOFF setup
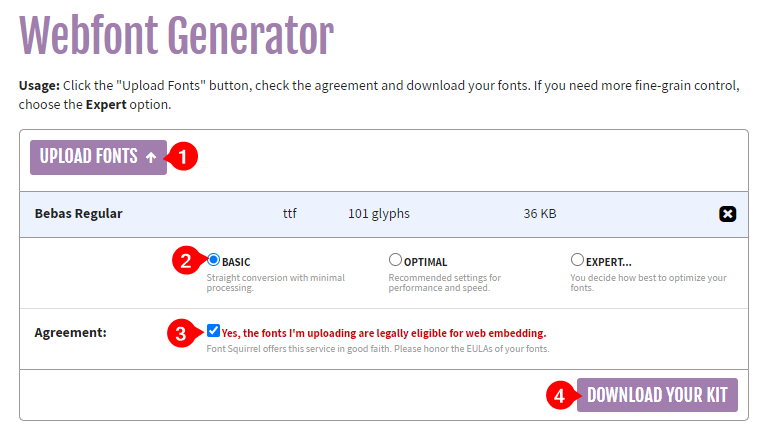
Generate font files and respective stylesheet. You can always use examples from your development package. Prepare them as usual web font. There are many tools for that, one of most popular — fontsquirrel.com.
Upload the TTF font files into the website
Select the basic conversion mode
Check the legal agreement that your fonts are eligible for web embedding
Press "Download Your Kit" to download the converted font
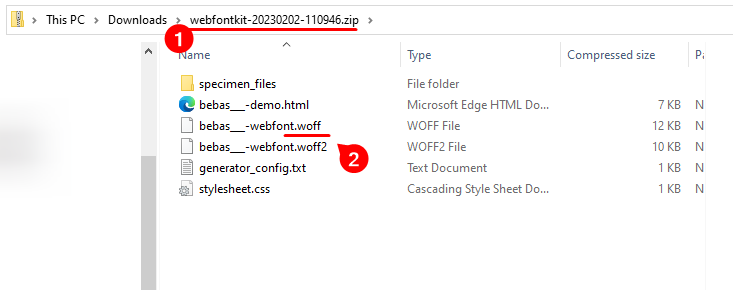
Inside the generated ZIP find the WOFF file. This file shall be used to upload it inside the LiveArt Control Panel. See an example below:
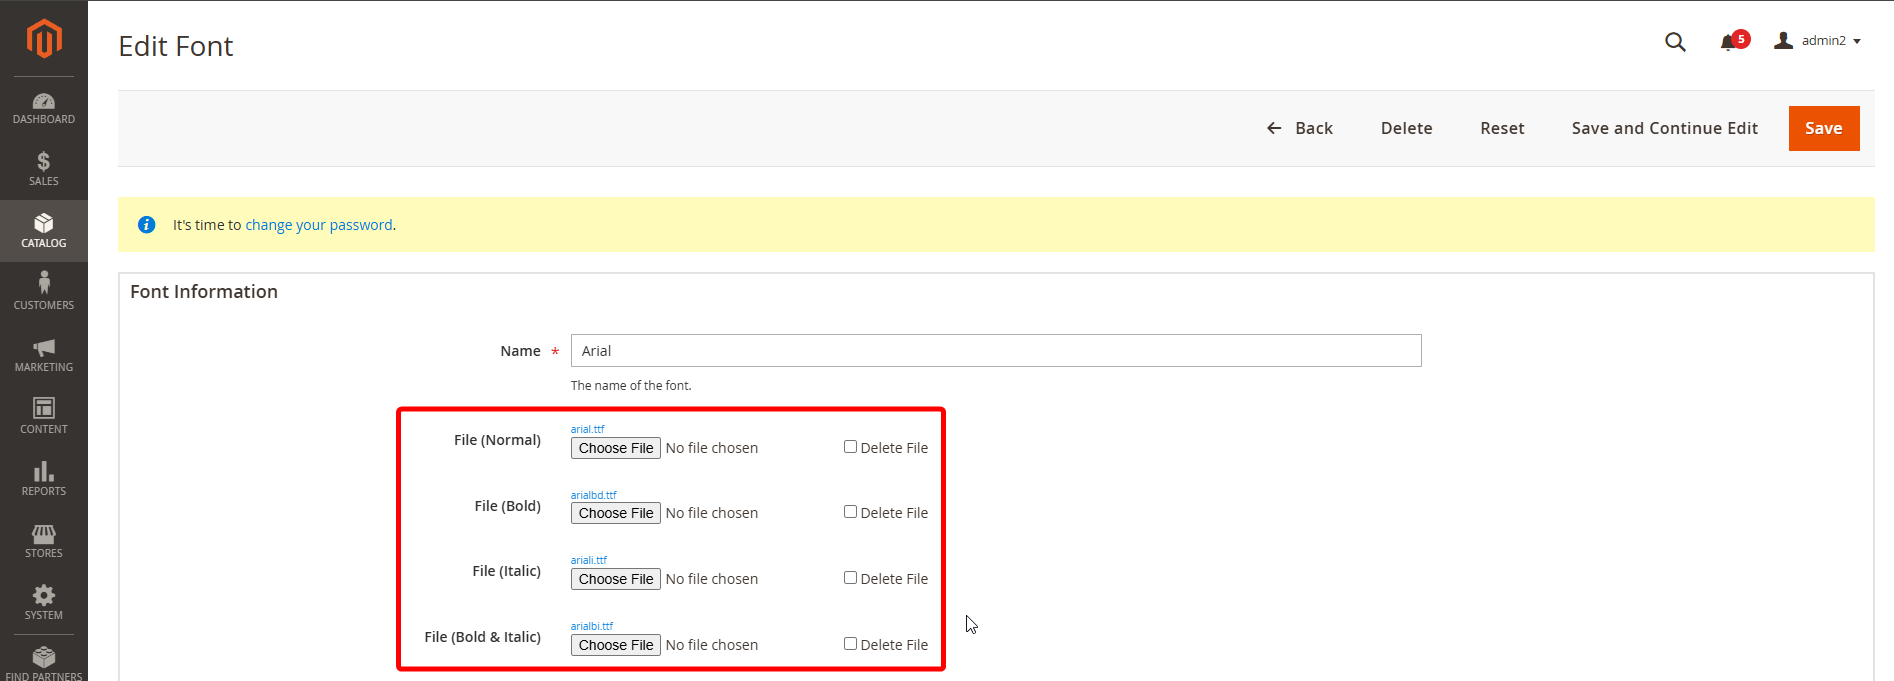
How to add fonts?
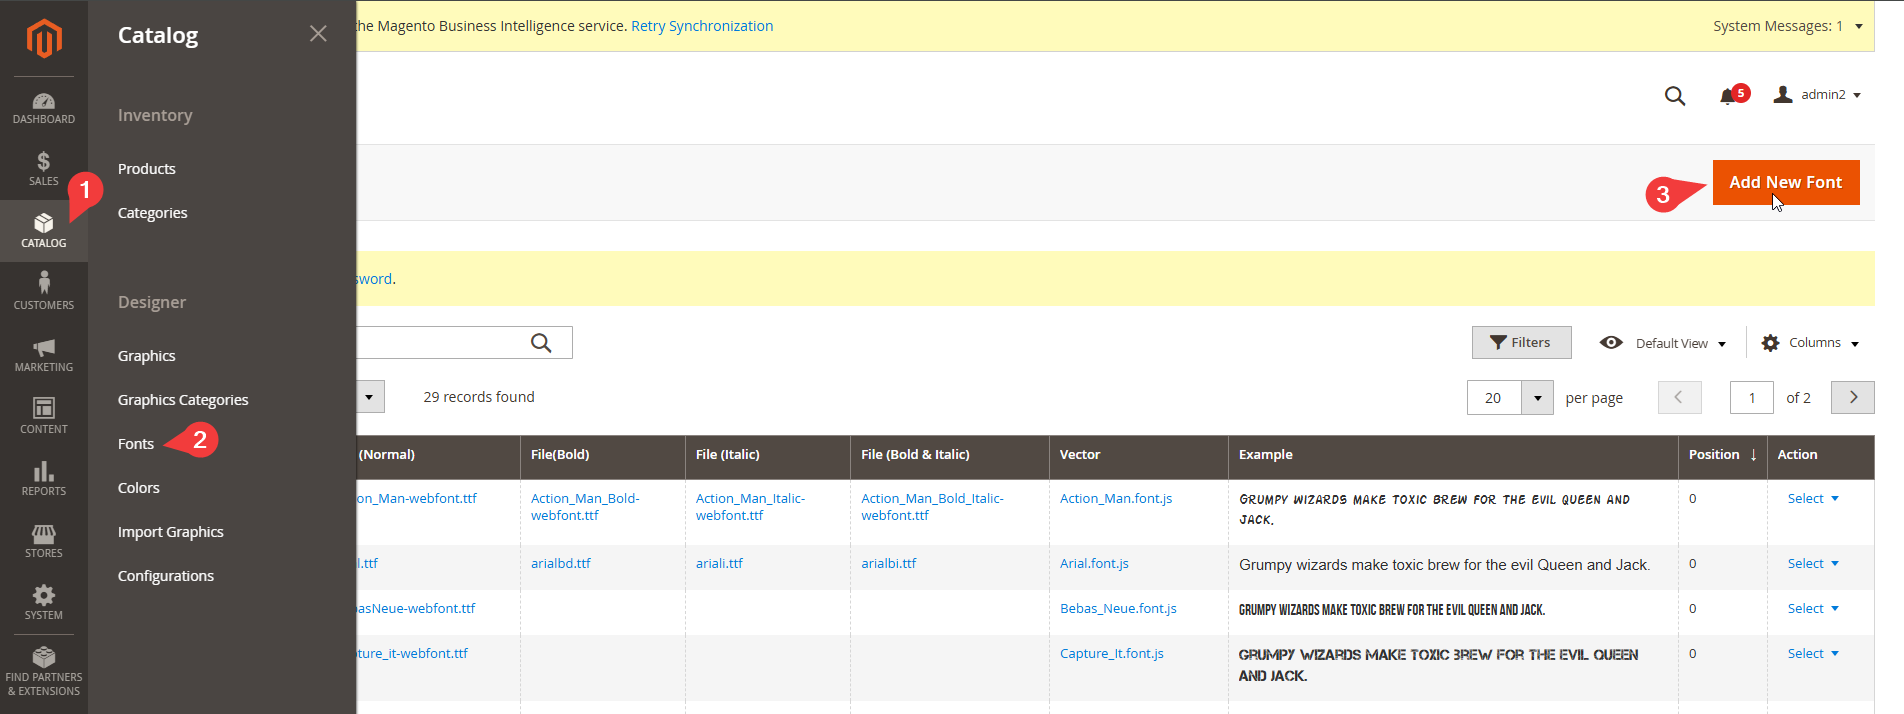
- To start working with Fonts click on "Fonts" in "Catalog" tab and then click on "Add New Font" button.
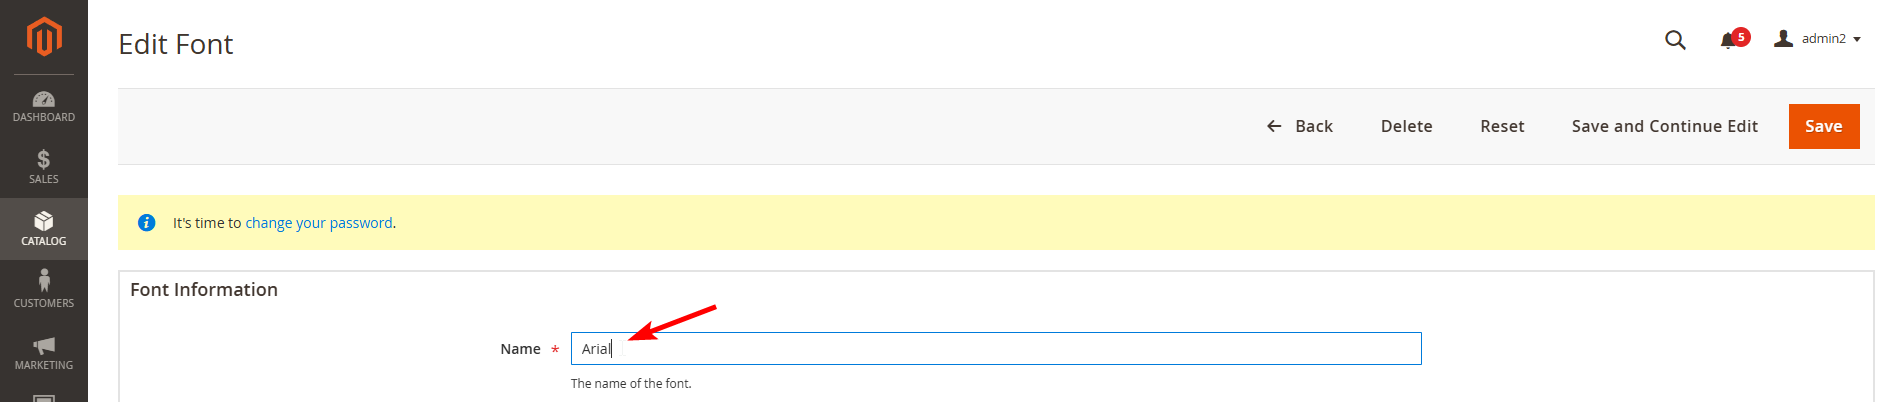
- Enter the title for new Font.
- Font Details
- Upload files for Normal, Bold, Italic, Bold&Italic styles. Normal file is required for font preview only. LiveArt uses the WOFF format as it's one of the most cross-platform and cross-browser.
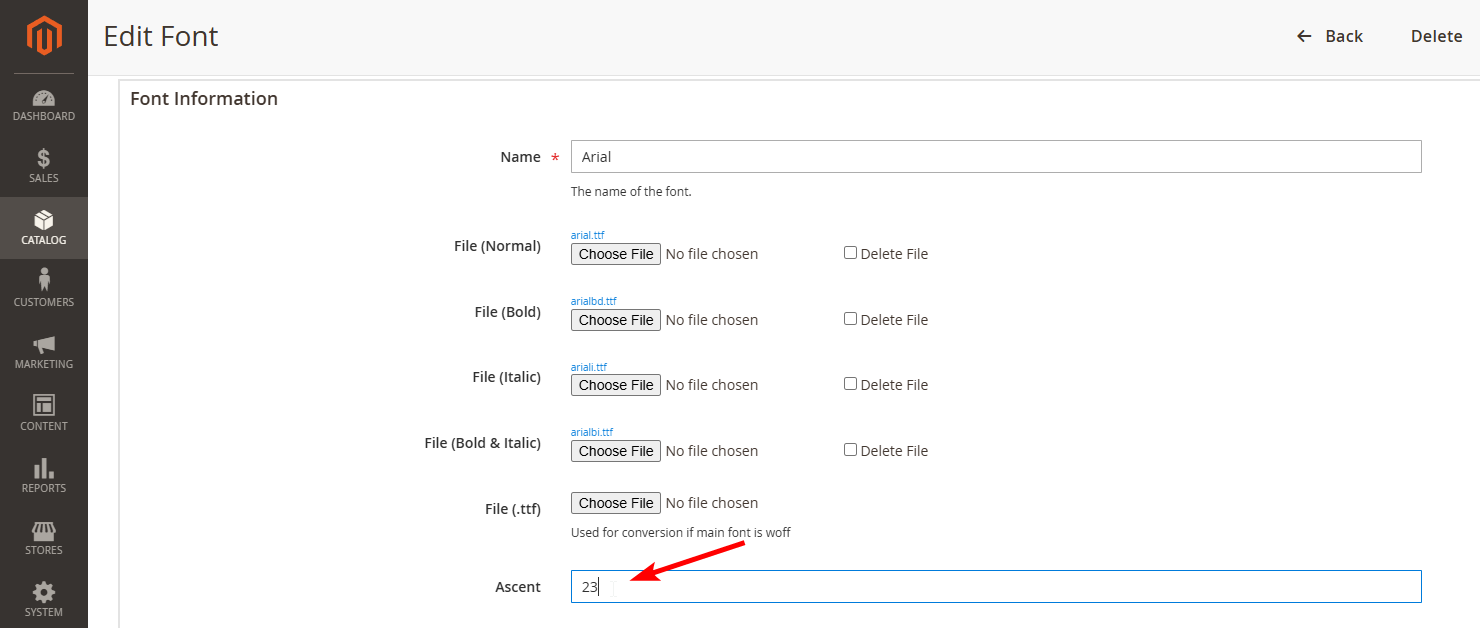
- Enter ascent (should be indicated, as height in pixels for 32pt font size. This parameter is essential for calculating correct measurements in resizable products and size-sensitive price calculations. Normal values are 22-29).
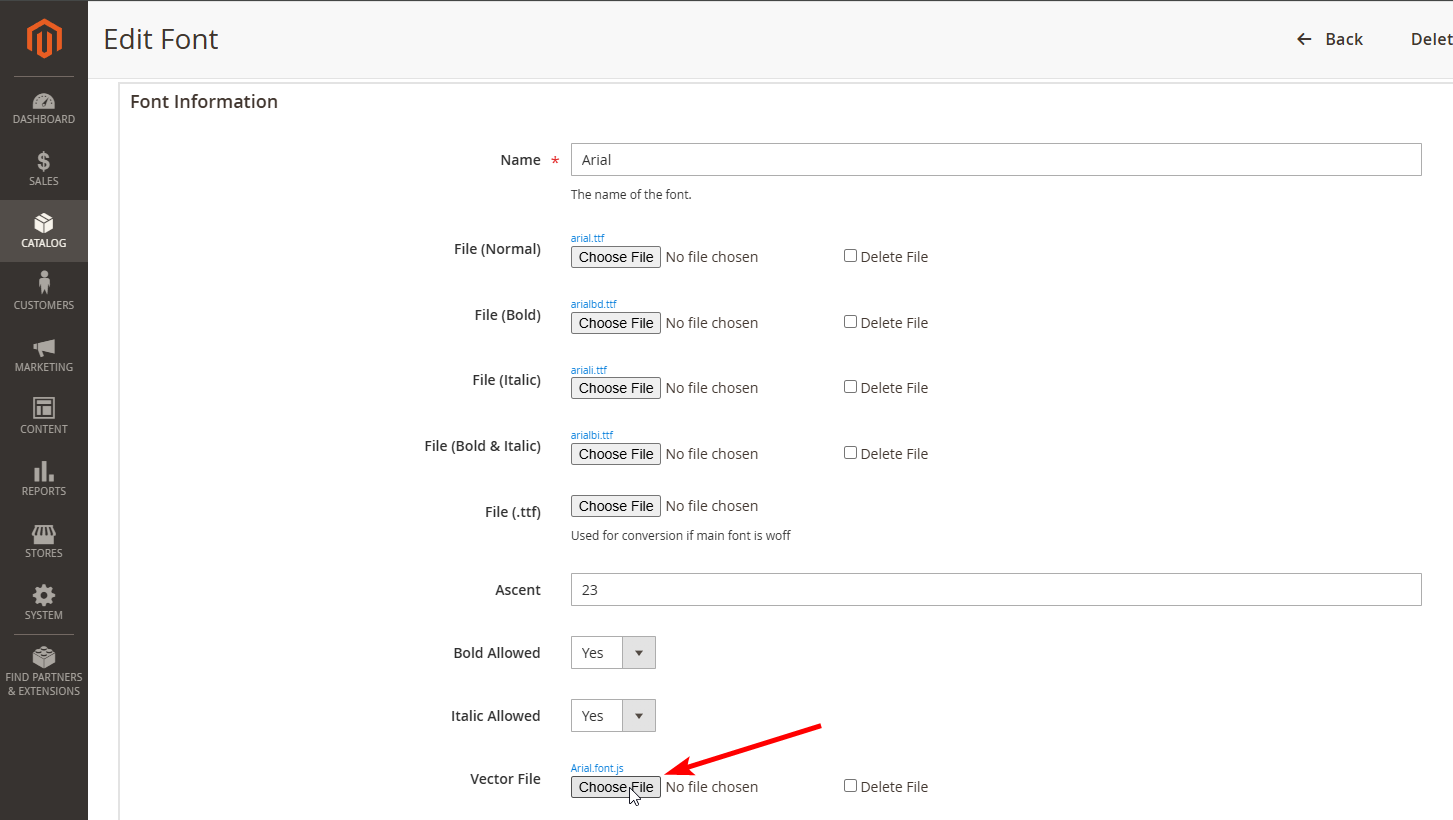
- Set "yes" for "Bold Allowed" and "Italic Allowed", if "no", disables respective control. Usable if font does not have bold or italic typefaces.

- Upload vector file (vector representation of the font glyphs for vector text effects). This file is mandatory for designer and is responsible for displaying the text with the selected font on the designer. Check how to prepare vector file for designer here.
- Here you can see list of System Fonts.
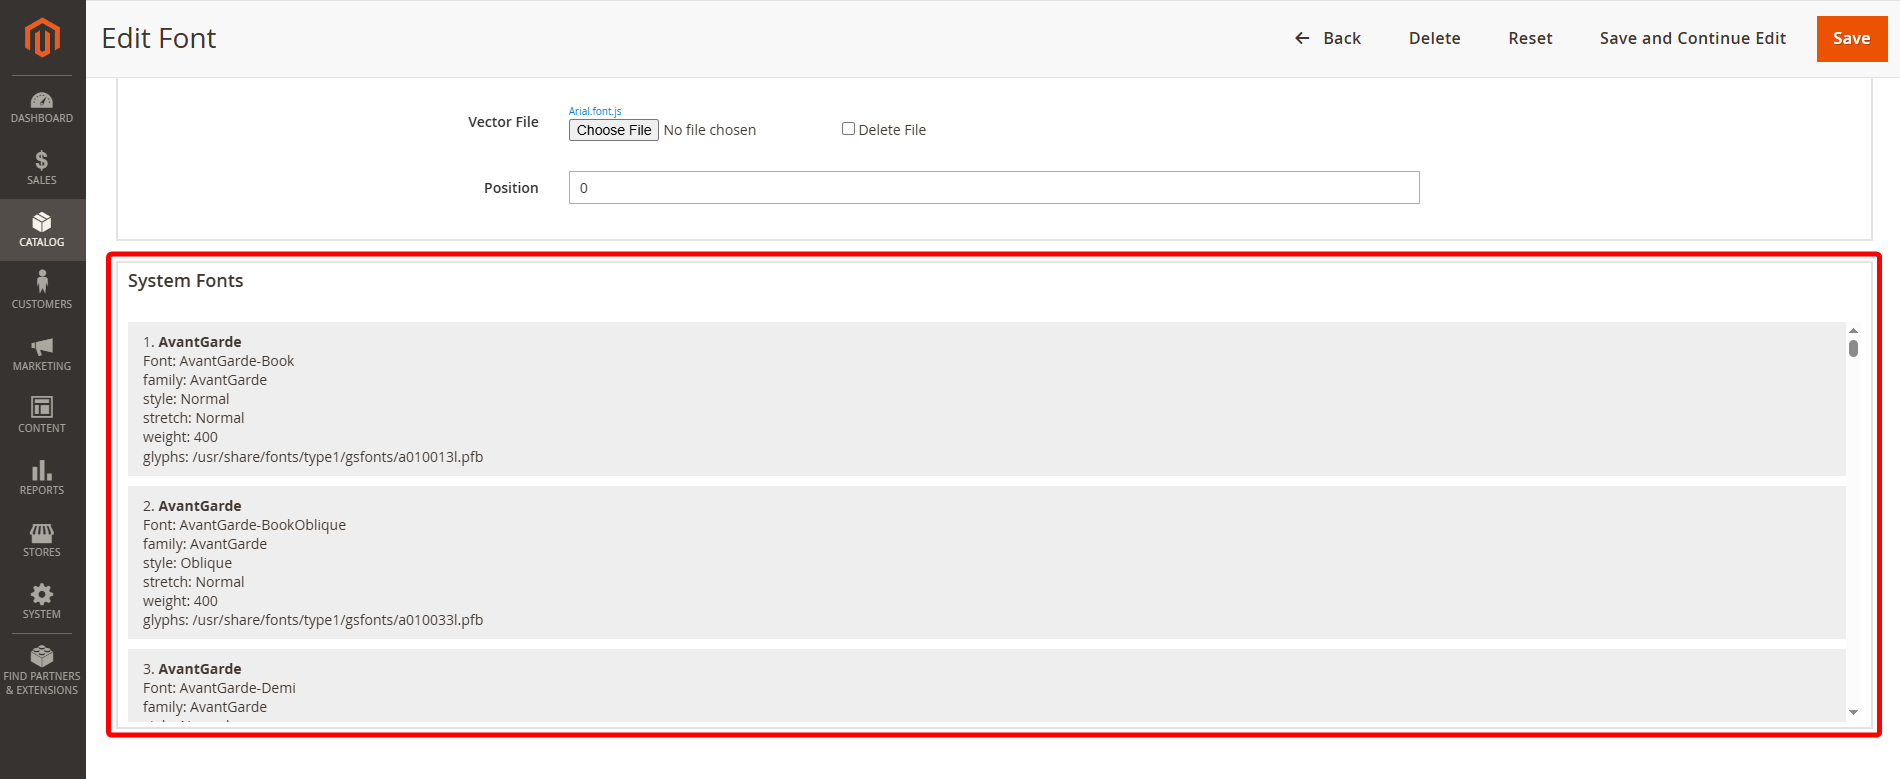
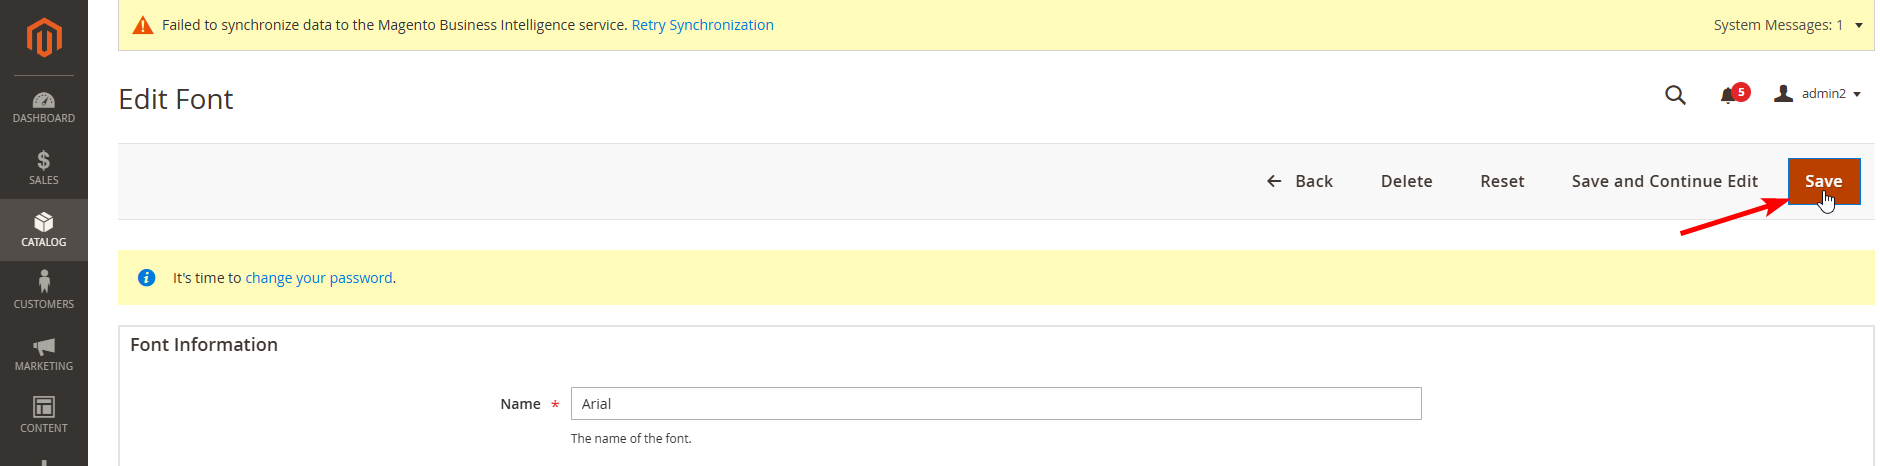
- Once finished, click "Save" on the right.
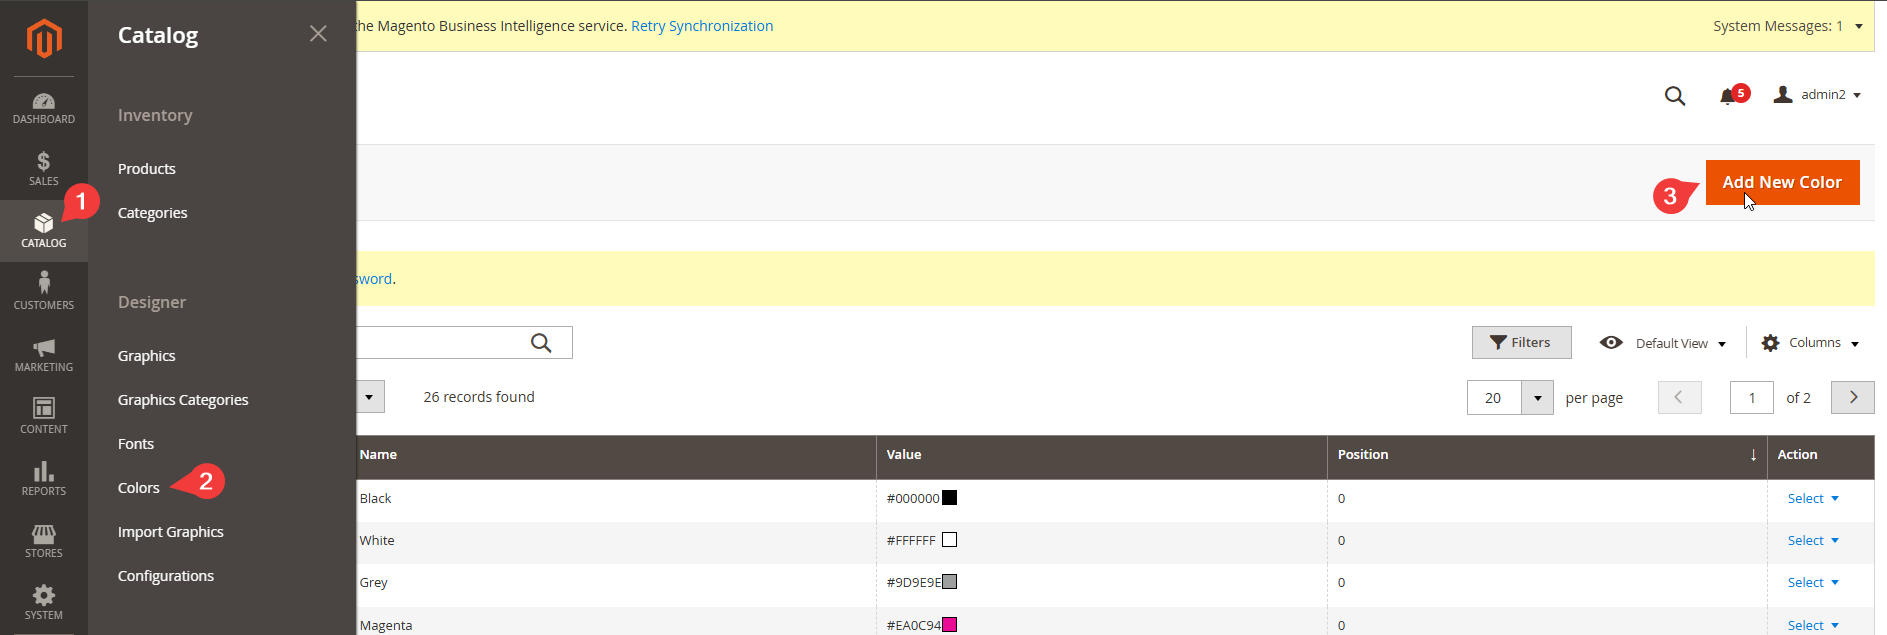
How to add color?
- To start working with Colors click on "Colors" in "Catalog" tab and then click on "Add New Color" button.
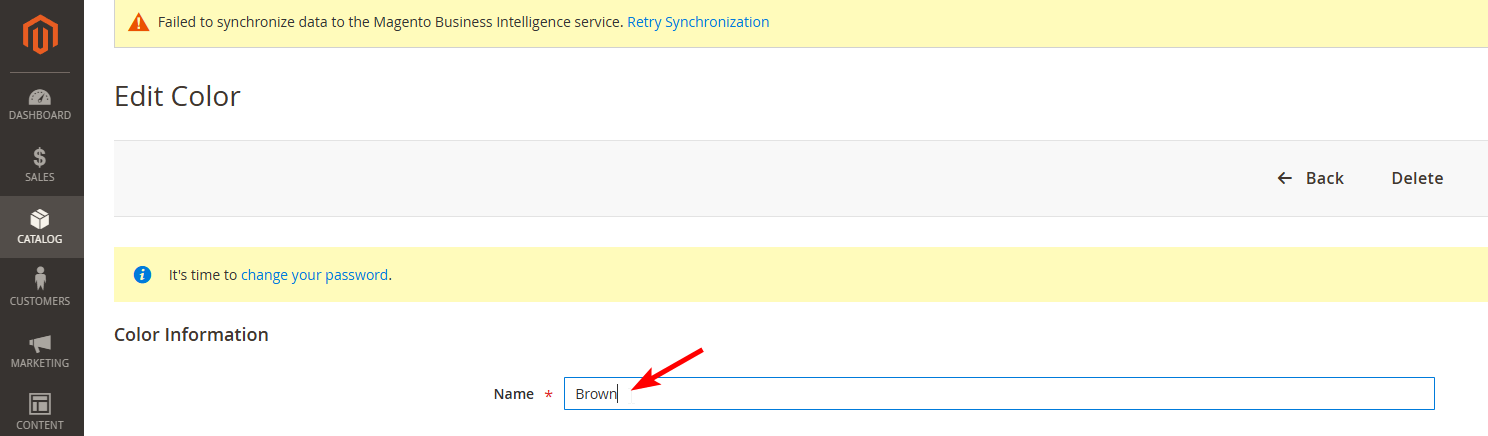
- Enter title for new Color.
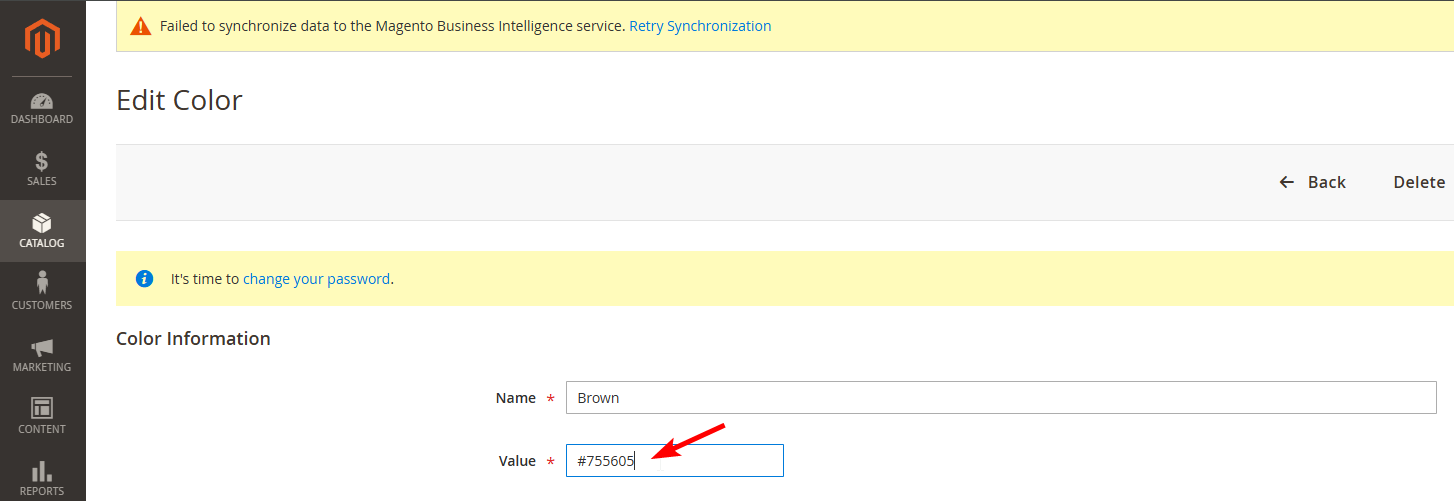
- Details
Enter Value(hexadecimal value of color).
- Once finished, click "Save" on the right.

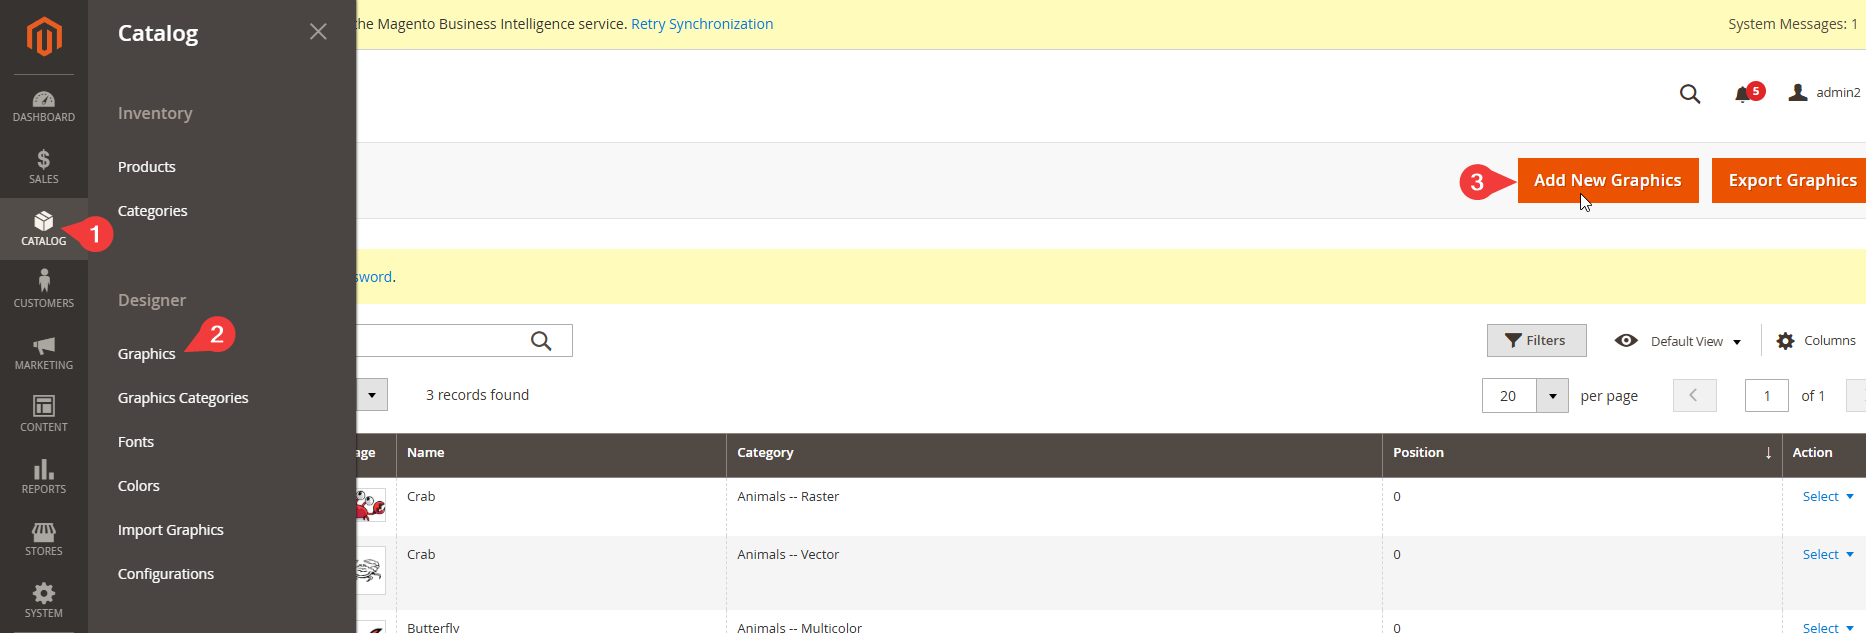
How to add gallery artwork?
TIP
Before you set up your graphics, please prepare it according to our graphics preparation guide.
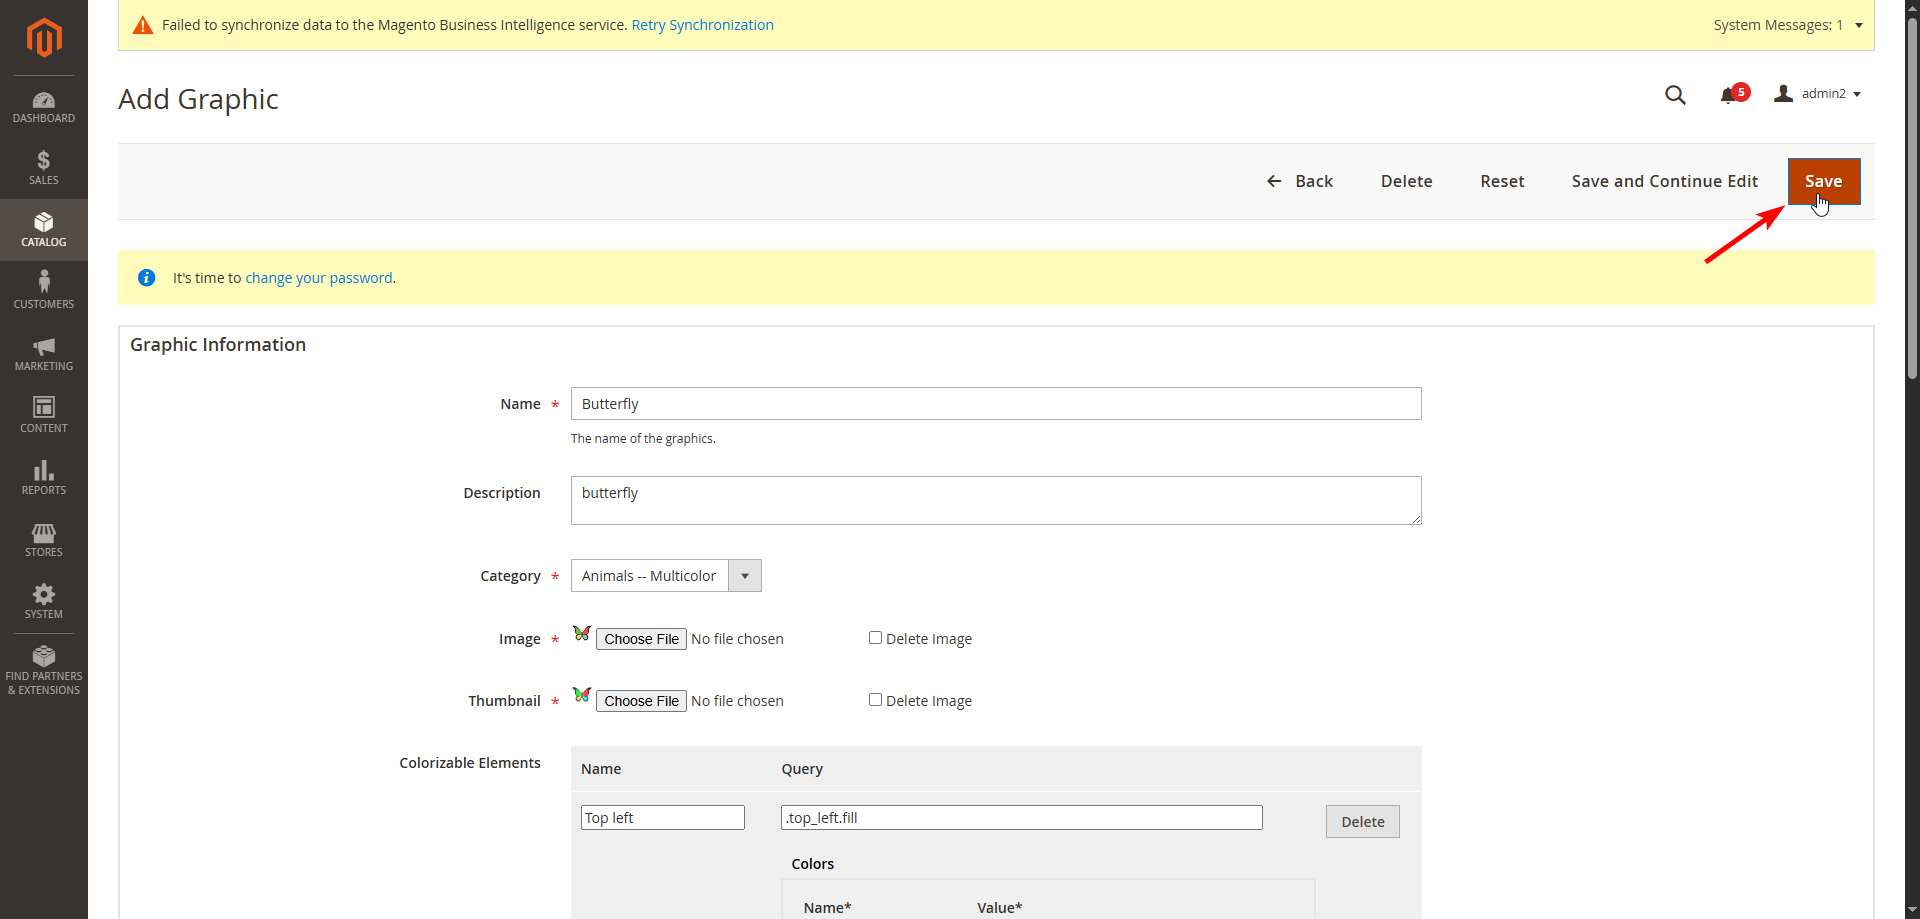
- To start working with Graphics click on "Graphics" in "Catalog" tab and then click on "Add New Graphics" button
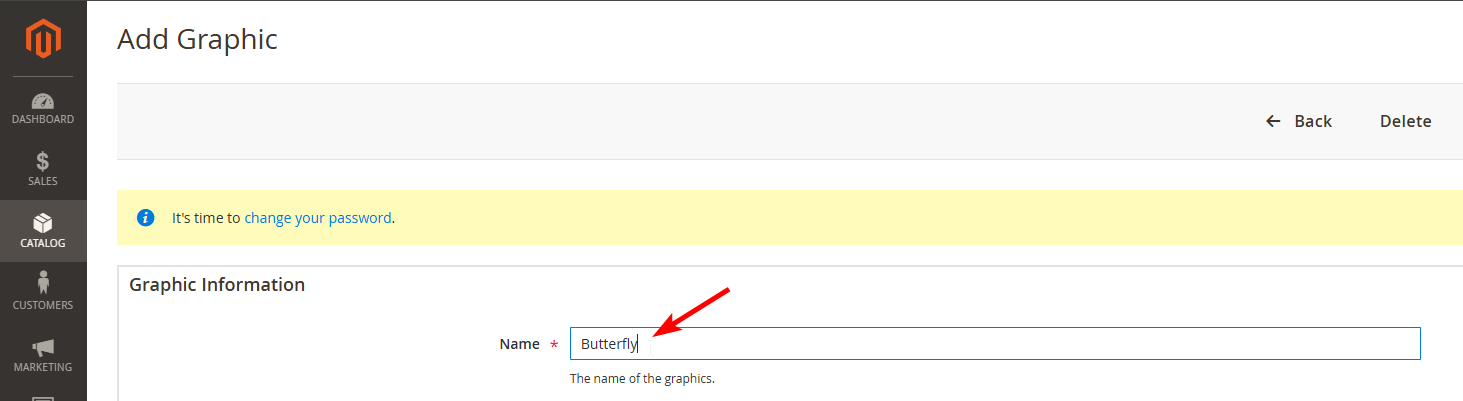
- Enter title for new image.
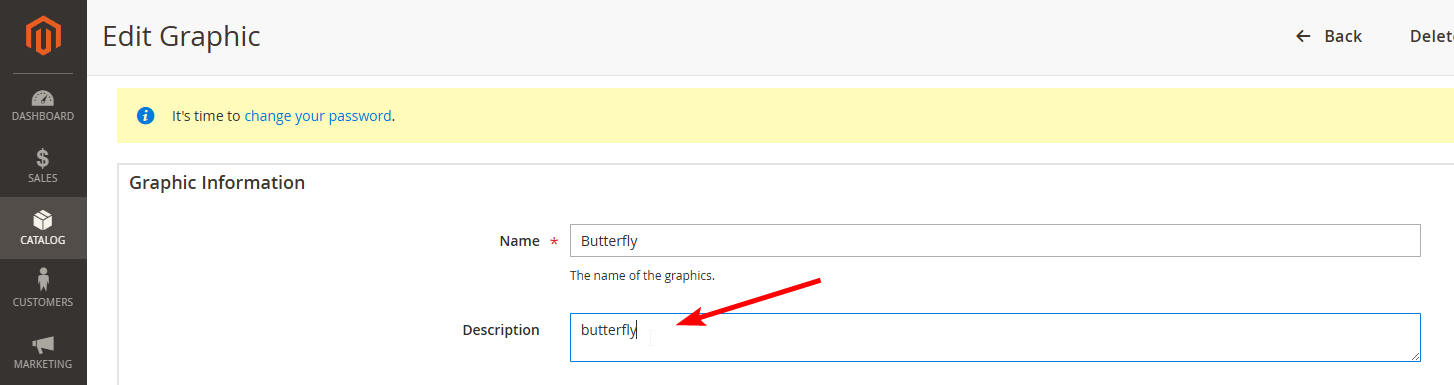
- Graphic Details.
Enter short description of the image, visible to the end user.
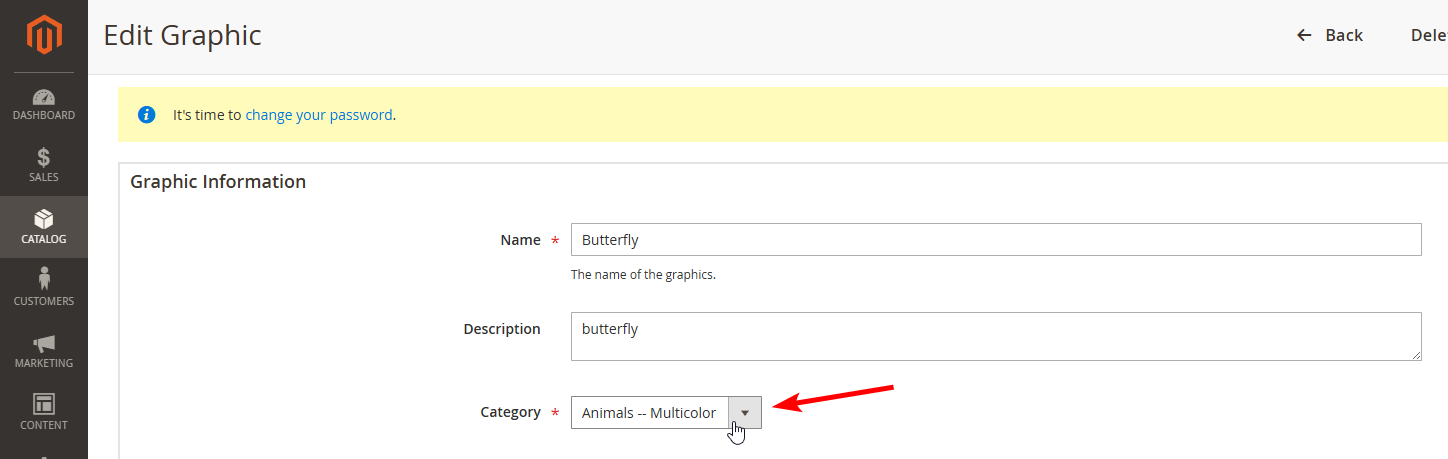
Choose Category category to which belongs the image.
Upload image and thumbnail.

Colorizable
- Set to Yes, if you'd like your SVG artwork to be colorizable with 1 color;
- Set to No, if your artwork cannot be colorised or contains more than one colorizable layer;

Colors
- Set to -1, if the artwork is full color, e.g. photo;
- Set to 0, if the Colorizable field is Yes;
- Set to number, e.g. 5, to count unique colors of your artwork;
- Set to specific list of colors in the form of array, if you'd like to accurately count colors on design;

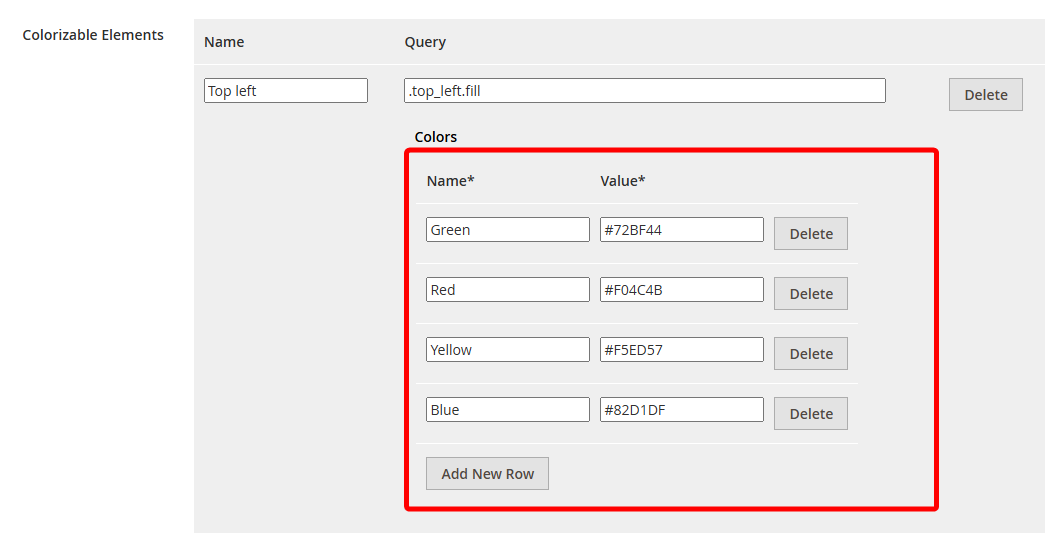
- Colorizable Elements - list of SVG style elements with fill attribute, which you'd like user to be able to colorise from LiveArt. To use this option, Colorizable should be No and Colors field should be empty.
Click on "Add New Row" to add colorizable element.

Enter name and id of an element (id should be like .bg.fill and should correspond class name from SVG).

Enter Name and value of colors.
- Once finished, click "Save" on the right.
How to find order output files?
The result of product customization is attached to the order, once the customer fulfills it.
To obtain the output files:
- Go to the Orders tab in the navigation menu.

- Choose the Order you need from the list.
- Inside the order you'll find the link for downloading output files as ZIP.
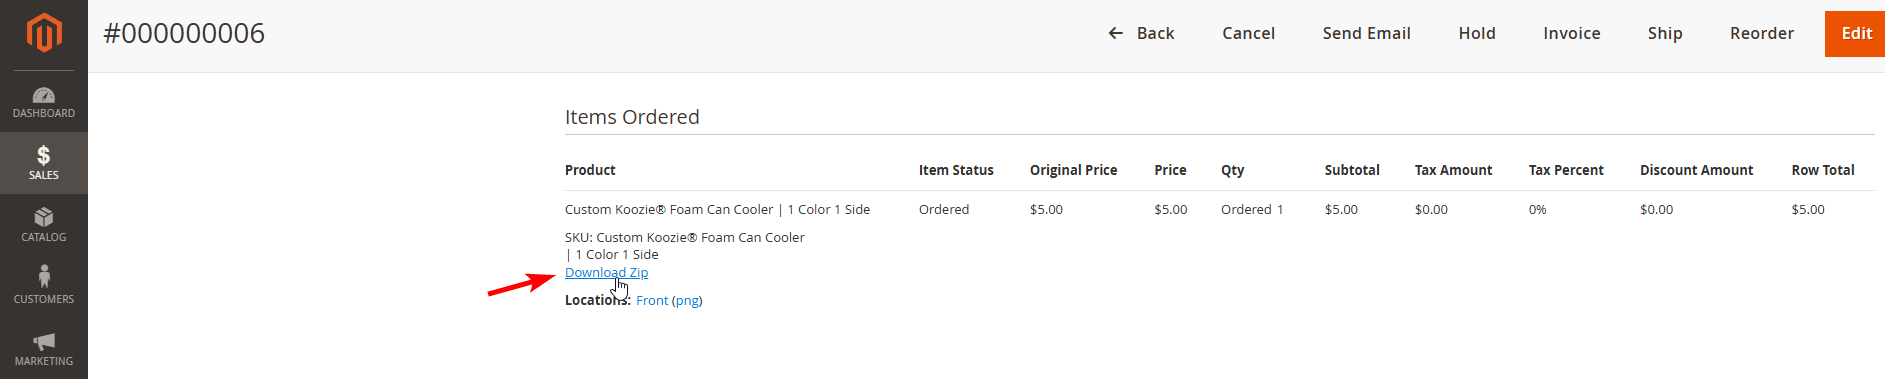
TIP
Zip - a zipped package containing PDF, PNG and PNG preview files. You can download and open it in Illustrator;